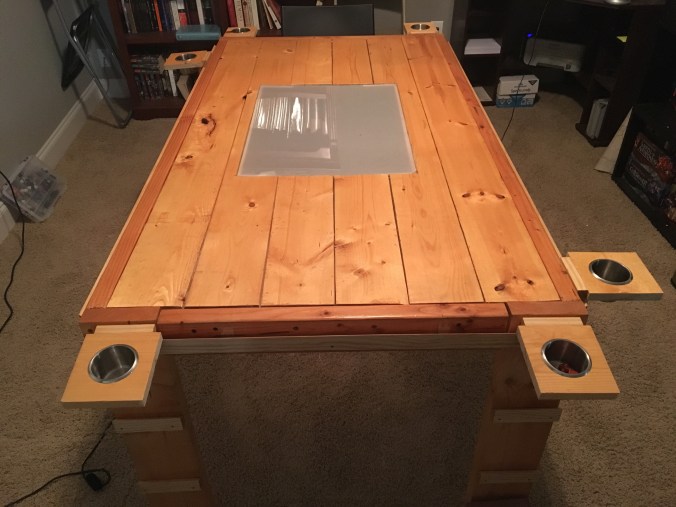
Behold! The everyman’s gaming table. Complete with mismatching stain, visible screws, poorly measured cuts and after-market mods.
Disclaimer
I am not a professional, semi-professional or hobbyist wood-worker. I’m just a guy who sometimes builds things because I’m curious or because I need to. Also, this has been done many other times by other people, and much better. This is just the story of my own take on it.
Introduction
I said in my last post that sometimes I randomly receive visions from the Overmind come up with an idea and obsess over it until I do something about it. Well this is kind of one of those ideas.
About five years ago I was playing various published and homebrew that which shall not be named 4th Edition Campaigns with my fellow ggnore members (plus some adds). Around that same time I was also introduced to Geek Chic. If you’re not familiar with Geek Chic, they basically make really fancy wooden table-top gaming accessories (i.e. tables, dice towers, etc.). However, seeing as how I didn’t have a spare $1500 lying around, I was out of luck. What was I to do?

CAN people levitate?
Then it hit me. Tables are made of WOOD. You can CUT WOOD. You can CUT WOOD with a SAW. You can BUY SAWS…I think you see where this is going. Fully aware that I have never made anything of wood, let alone own a saw, I decided it was as good a time as any.
The Plans
So first I needed some kind of plan. I needed to start somewhere. What does a good 21st century, #whiteprivilege Western millenial do when they need to know how to do something? Google it (aka: how I learned to do 95% of my job).
It turns out the Internet is full of things. Things deep, dark and horrible………..

Can’t…look..away…
………but also instructions on how to build many kinds of tables! Thanks, Ana White!
The instructions are pretty straight-forward. If you don’t want to have Lowes do the cuts for you (and if you’re hardcore), get yourself a decent compound miter saw. If you want it to have a more professional look and tighter joints (because you’re hardcore, remember?), get a Kreg Jig set. Finally, you should already have a good drill set of your choice because you’re a responsible adult, right? How else do you put an endless amount of holes in your drywall for the screws that never seem to hold up that stupidly large curtain rod (no backstory)?
NOTE: The Kreg Jig isn’t necessary, by any means, but it makes for a much cleaner, professional look. You can hide away your screw holes and get much tighter joints. I know this because I used it on exactly ONE other wood project, and my gaming table looks like a level 1 scrub next to it. SCIENCED!
The Build
So now that I followed Ana’s instructions to create my own table, I then then choose to give it a finish. I gave it a good sanding, wiped it down and then put some kind of Minwax stain and sealant on it (I like the all-in-one because I’m lazy).
Huzzah! I created a functional table! I can…put things…on it. Hmm. How do I make it a GAMING table, though? Well, I had a couple ideas. First, I wanted some kind of removable trays, like Geek Chic’s rail system (but definitely much more low-tech, obviously). Second, I wanted it to have a surface for use with a projector underneath (yes, I love technology; but not as much as you, you see?)
The MODS

Yo, dawg. I hurd u like mods.
Mod 1 – Removable Trays
So if I wanted to make a “rail system” like Geek Chic, I would need a router with bits, but I had no idea what a router was at the time. Also, that’s taking it to like level 10+ when I’m clearly at low-level play right now (and as stated above, I’m lazy). My solution for removable trays wound up being your typical closet tracks and uprights (for walk-in closets). You can get the individual tracks and uprights from Lowes, as needed. I measured out some cuts of 1×3 boards and attached one upright to each side of the boards with some screws (or whatever method of attachment you so desire). I then cut off two pieces (per tray) of the tracks with a hack saw. I cut off the pieces so that there was a screw hole in the middle of the track segment, leaving two rows of slots, one on each side of the screw hole (four slots total). Now that I had some mini-tracks I had to measure the width between the two uprights of each tray and then attach the mini-tracks to the outside edges of the table using a screw through the hole on the track segment (measuring the proper distance on the table edges, of course).
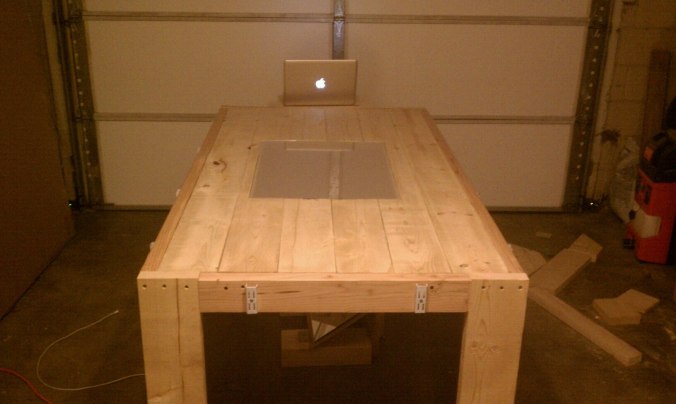
Without trays attached or any stain applied. I feel so naked.
Now I could then slot the tray into the track, just like in the walk-in closets. Just slot it in by coming in at a slightly downward angle (that’s what she…nevermind).

I feel a little better. Like wearing nothing but socks.
Mod 2 – Projector Surface
The second big thing I wanted was quite the gamble, considering proper utilization would require spending even more money on a pico projector, or a short-throw projector. Not to mention it would require my DM to try using a digital tabletop tool (we used MapTool at the time). Spoiler: he didn’t want to because he prefers low prep. We did use it a few times, however, so that’s something.
Anyway, what I did first was pick out two sizable pieces of acrylic plexiglass (I found a decent size at Lowes) and then some large tracing paper from Hobby Lobby (to add some opacity to the plexiglass). I then placed the sheet of plexiglass in the middle of the table surface and traced an outline. Using a circular saw, I cut out the square.
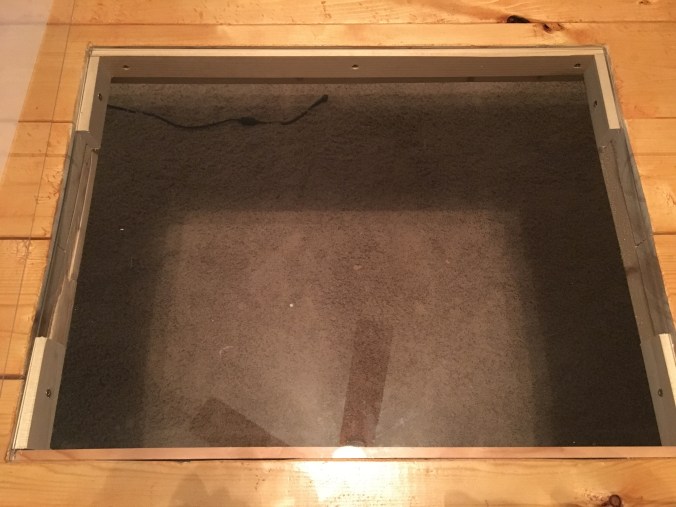
Pay no heed to the dirty floor.
I then cut down some 1×2 strips of wood. These are what the plexiglass will rest upon. You’ll want to measure the width of the two plexiglass plates stacked together, first. Then use this measurement to determine where the top of the 1×2 strips will be when you mount them to the inside.
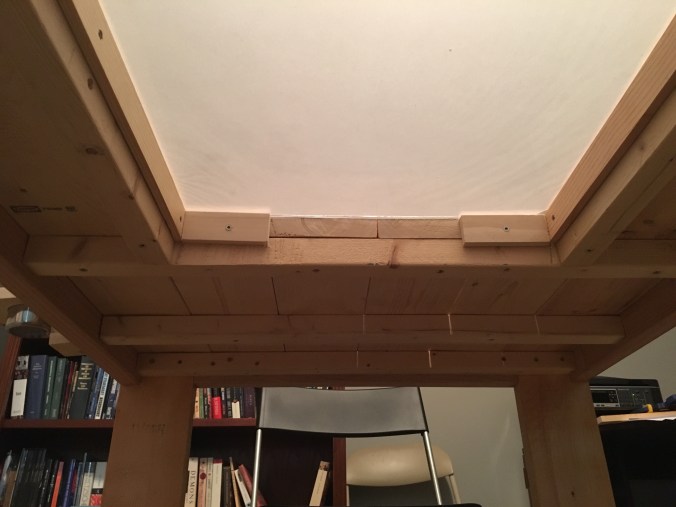
The underbelly of the beast.
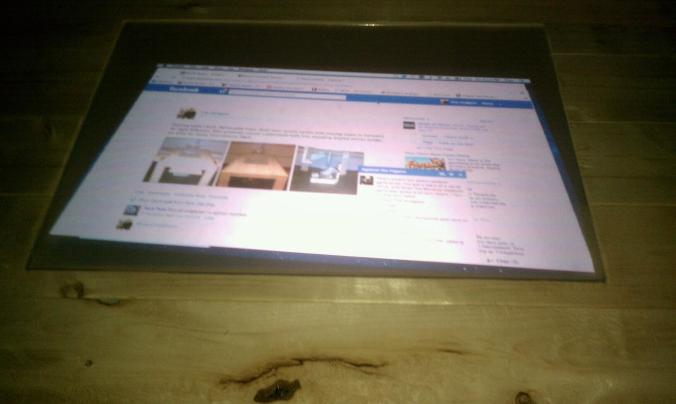
Now just place one sheet of plexiglass down inside the hole, resting upon the 1x2s, place the tracing paper flat on top of that and then lay the other sheet of plexiglass on top of it. You now have a tracing paper sandwich surface which you project onto from underneath.
Mod 3 – Projector and Mirror
If you already have a projector, then kudos to you, Money-Bags. Just set that bad-boy up underneath the table and point it up at the “screen.” If not, you’ll probably want to buy a relatively cheap pico/portable projector. Then you can use some good ol’ human ingenuity to construct a really bootleg clever projector mount and mirror-holder to try and get a decent-sized image from such a short distance.
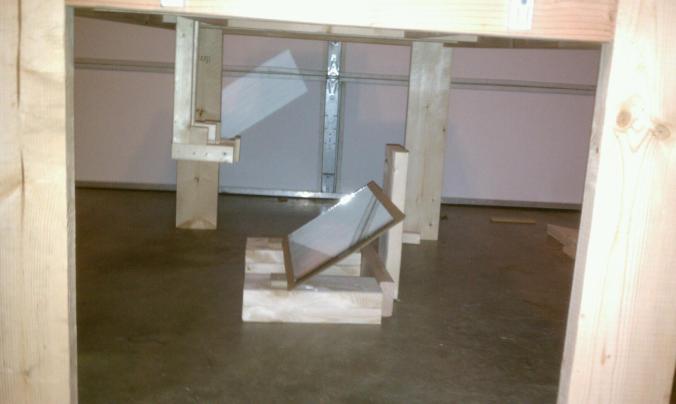
Don’t laugh. It actually worked.
This image is so meta. I eventually got the picture straightened out…mostly.
Mod 4 – Wiimote, Infrared Pen and Whiteboard Software
Step 1: Get hardware: Wiimote and infrared pen.
Step 2: Get software: Smoothboard Air. Calibrate Wiimote to projection surface.
Step 3: ???
Step 4: Profit.
Just kidding, there’s no step 3.
Now you should have something like this. Or not. At least it will have the same functionality, and that counts for something, right?
All this typing is actually pretty time-consuming, so I will split this into two posts. In my next post, I’ll show you how I ditched the trays for my own version of a rail system using the french cleat method, talk about what I learned in the process and what I think I might do in the future.

Pingback: Dungeons and Tables Part 2 | gg no re